Εμφάνιση αναρτήσεων με ετικέτα HO Scale layout. Εμφάνιση όλων των αναρτήσεων

Παρασκευή 21 Αυγούστου 2015

HO Scale layout , computer control

As I wrote before  the new track plan(already layed)  is  arranged  for computer control .
But what is computer control ?
It is a  series off connected  devices from train to the computer    in order  them to communicate to each other .
The computer  generates the commands  which are transfered  through connction dvice to the command station and then  to the rails and finally to the dcc decoder inside the locomotive.The locomotive generates current draw  that  is tracked on the tracks  using the feedback device  which sends  info back to the Command station  which also sends feedback back to the computer.
Finally the computer arranges its  choices according to the feedback and the saved preferences (loco proirity etc)
I chose thse solution  of Lenz electronics  which provides  stable , clear and efficient result .
Moreover not to mention that you need a software to control all this mess.
my choice  , finally , was :

1.command station  : LENZ LZV100
2.computer interface : Li-USB-Eth by Lenz
3.feedback generator : Lenz LR101
4.feedback occupancy module : Lenz LB101
5.switch controller : Octopus III with  Octocoder
6.program : Rocrail

Back view  of the Lenz Command station . Comparing with the Roco black box  it  seems more rigid  . far better materials(aluminum) and more expensive result.

Front side of a Lenz lzv200 same as the LZV100 I purchased . 


 Here is , in German ,  the  complete lenz diggital system . Not all parts must be used in order to  start over with it .  Eveny part you  add , you also add  another tool for your layout.

   Be prepared that all manuals coming with LENZ  products are in German . If you want the English version  use this link :  LENZ USA .
   Each LR101 feedback generator  can handle up to eight feedback input signals . Each LB101 can  detect up to two isolated rails and generate the signal . So each LR101  can be connected with up four LB101 . The occupancy detector LB101 is connected to the LR101 feedback module ,  the LR101 i sthen connected to the LZV100 . The LZV100 is connected  with the  Li/Usb/Eth module (via the XpressNet cable)  and  the Li/Usb/Eth module is then connected to the PC .

  As described before , for  a pc operated layout you will defenately need  a program . I chose  the ROCRAIL which seemed very easy to understand  and will all the utilities I need .
The webpage  of ROCRAIL is here  .
First read the step-by-step manual very carefully  and then start playing with it .  Of course , it provides a virtual utility with which you can test every change you make .


Πέμπτη 20 Αυγούστου 2015

HO Scale layout , Wiring modifications

 Today  I  started to relocate and fix the position of the wires . Nothing must be hanging from the layout so I had to fix the position   , to trip excess wiring , to relocate the route of some wires  and  to secure the screwing of  the wire ends .
 Another view . The job is not finished of course  but now I just feel more confident that  I am  on the correct path .
More test to be  done tomorrow in order to check for short cirquits  and blank spots.

Ho Scale layout , New Planning ... start over again...

 First off all , sorrry forr the mess in the photos !
I had an idea to stop the previous layout and start over again . The main reason  was  that  I bought  the LENZ LZV100 and started plans   for computer control .
 I chose the  Roco geoline  rail series . They needed much modification in order to make  the rails  tighter to each other . After some test I found the way to do it  by removing some part (around 2cm) from the thrown position of every switch).
I also added  in the eend of each shelf square retractable shelves of 80x80cm  where I put R2 curves  in order to be able to have full rail trip  and also   not to have space problems in my workshop.
 Here is the shelf retracted


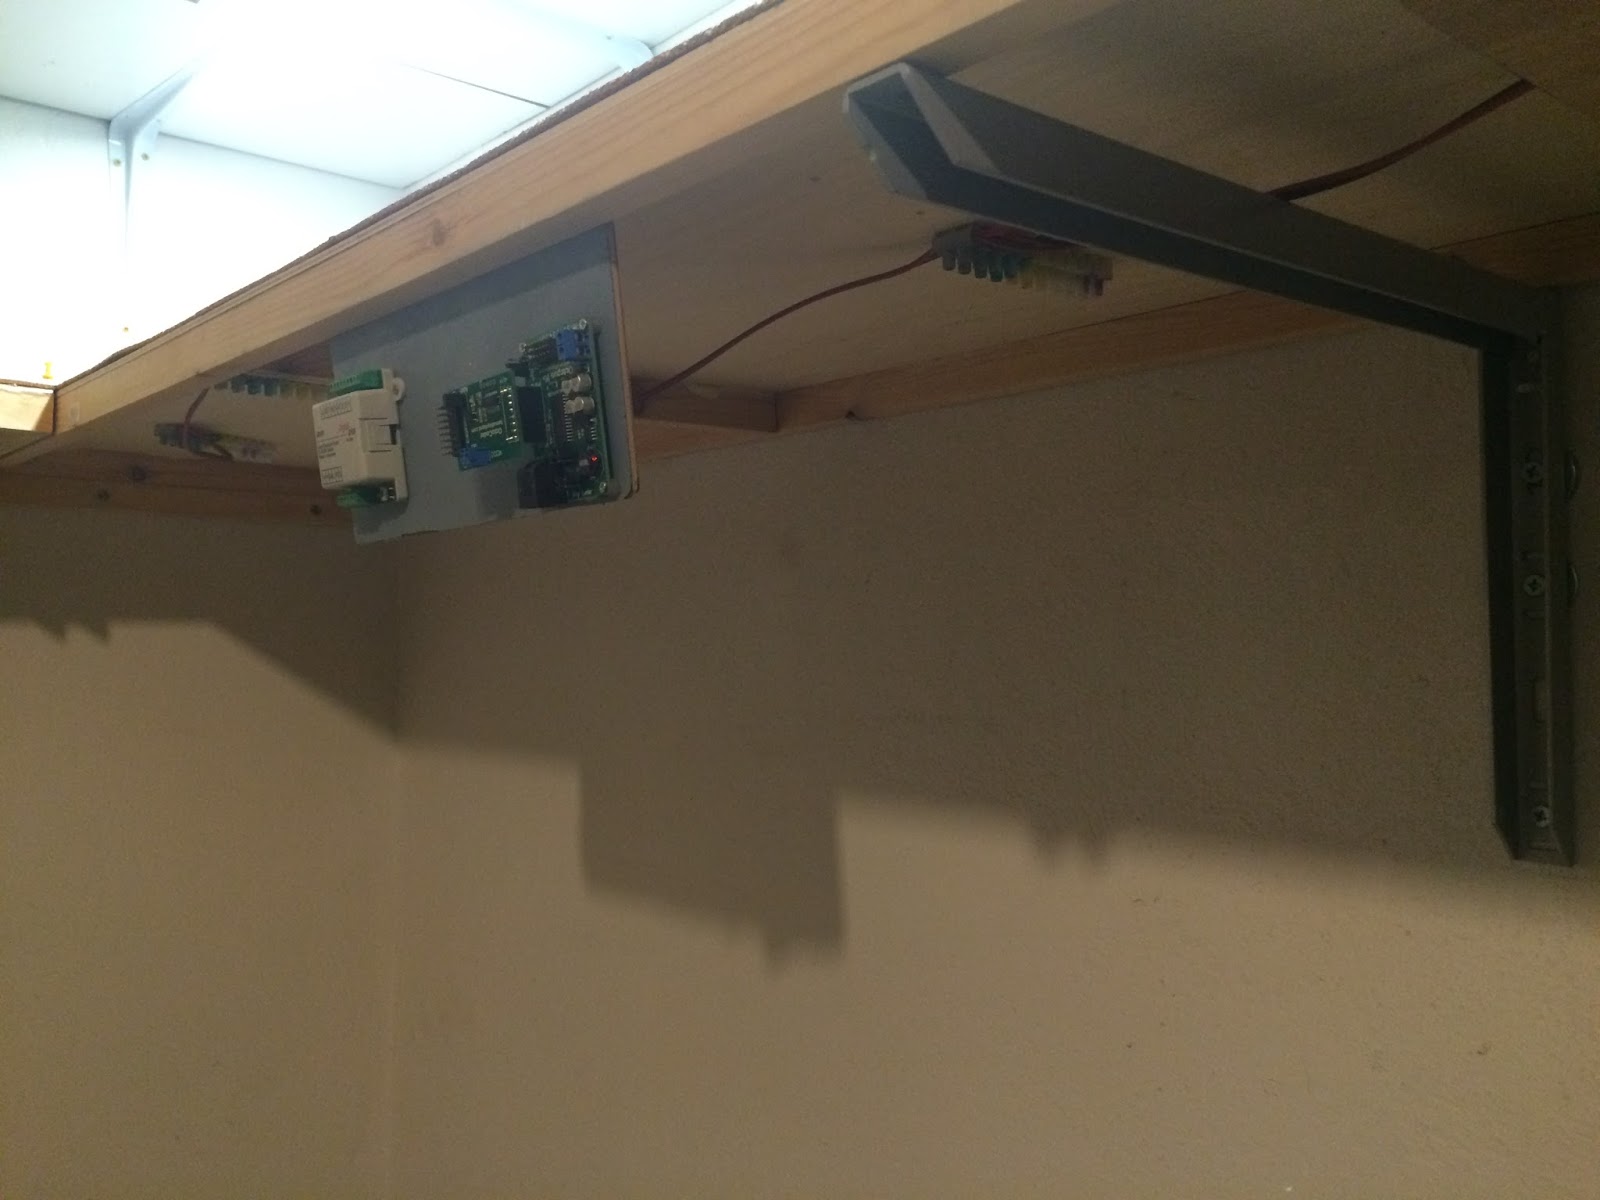
 Here you may see the  Octopus II switch manager  with Octocoder decoder . Also  , on the far left, you may see the LR101 which generates the feedback for the sensors.
 A full view of the mess....
 Below view with some initial wiring. I plan to change everything  and add notes on each wire .
 Here , I installed the laptop for the computer contol
 A more close view of  the devices described above.
 I have not yet found out the final  rail plan . Due to heavy modification  of the Roco Geoline  rails  , I was not able to make a plan in Anyrail  and then make it on the board .
 Here is the first , left , turn(loop)
 Here  is the right  turn (loop) . The  plan is finally closed.
 Here you may see the right loop retracted in order to  give me access to the entrance.. !
 Loop , bridge and shelf connected.

 Some tests arround . Nothing is final . All rails are not permanently fixed so if anythign goes wrong I can make changes..
 A more dramatic view of the Wehrmacht Loco .
 Here is a more updated  view of the layout shelves below.
To be updated very soon....

Σάββατο 22 Νοεμβρίου 2014

HO Scale layout "some more cable here"

 The  construction is in progress . I have already completed the remote turnout control  and the live-frog arrangement in most  turnouts. 
I do not permanently hold the cables  as there are more arrangements to be done. Have in mind that the  whole diorama has to be  easily split in half . So all tracks and electrics are supposed to be separated easily for transportation.
 Here you may see  the situation below  the layout. Much  electrics , electronics and complete mess . All wires have to be numbered or tagged . I must also secure them below the layout  .
The front turnout control board is surely not permanent . I just made it  in order to have a good test board (made of paper cardboard ) for the turnout pressure switches .
A neat view of  a single servo that controls the position of a turnout . I later glue  beside  a pressure switch in order to provide power  to the frog of the turnout.

What the plan is ? I first want to be sure that the  tracks are working properly in every aspect , no dead lines , no derailments . Then  I will be ablee to start ballasting ! Can't wait for that !


Τρίτη 4 Νοεμβρίου 2014

HO Scale layout "construction addon"

 I prime painted  the whole  track  surface. The paper board shown in the picture are for space arrangement  regarding the station area on the right.


 This is a photo of the bottom of the  layout . The  switching function is arranged with rc modelling servos . The tamper switch is located there in order to make the switvh frog "live" .
 Here you may see the small metal plugs that  give "juice"-power to the frog depending on the switch location .
Another view of the the whole diorama. There is lots of arrangement  to be done , lots of test runs  in order to be sure that the shunting service will be done correctly with no derailments or dissengangements .


A small overview of the electronics I will use:
I bought  the  items  from  http://www.tamvalleydepot.com/

It  consists  of   a series of  items  that  cover the matter  of switch  management.
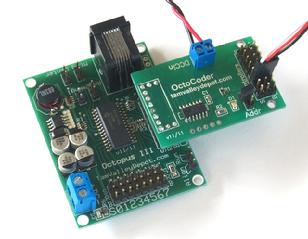
The main item  that supports the system is  the  Octopus III . This tool  can manage eight switches throught their connected servos .


The management  of the  servos  is  done throught  the faschia controllers. They are actually  pressure switches  with let lights  that  can provide a feedback  of the track switch position (open-close)


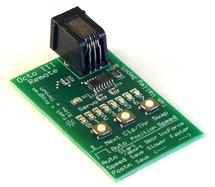
In order to be able to  arrange the position of the servos , their speed  and their endpoints (Epa  , as they are called  in rc modelling) , the remote alligner is needed . Do not hesitate to order one together with the Octopus III !! Very useful !


The Final  addition I wanted was the digital addon of the  Octopus III . This changes the whole system and provides the ability of DCC control . What I trully liked was the  ability that it provides  to  use  not only the dcc controller  but also the  fashia controllers . Using one does not interfere  with the other.  Very useful , handy  and  clever .


All of the above items  were bought by Tam Valley Depot  . The people there  are very professionals , fast reactions , fast shipment and very good packing .  I tested all items  and they work properly . The items come with very good colored instructions .

Δευτέρα 3 Νοεμβρίου 2014

HO scale shelf layout

HO scale shelf layout

The Idea
I was reading here and there  that a shelf layout  with shunting services would have so much interest as a normal layout . So I started making some plans . The first thing to do was some massive re-arrangement of my workplace  in order to accomodate the extra shelf . I put it on the wall a little high  in order to have some room below to make  an N scale shelf layout in the future... So mane ideas so little time  to construct...  .

 The Construction
I used some wood blocks for the main structure and 4mm plywood  for the flat area. I improvised and built the front areas of administrative buildings with a little  of  30s arcitect style.  A flakpanzer is there  to provide some scale idea .
 Another view of the same area . You may see here  the  basic track design . I have already put cock below the tracks .
 A more close view
 Here , I have  prime painted the surface (except the tracks of course)  using can spray paint .  I used a coat of light grey  and another coat of black paint  . No need for ballastick maybe???? No......
Another view here .